> For AI agents: the complete documentation index is available at https://www.jumpserver.com/docs/v4/llms.txt, the full documentation bundle is available at https://www.jumpserver.com/docs/v4/llms-full.txt.
# Enable or disable users
For security, users who haven’t logged in for a long time are disabled. For more information about the configuration guide, see [Auto disable threshold (day)](https://www.jumpserver.com/docs/v4/security/auth-security.md#auto-disable-threshold-day).
## Enable or disable a user
1
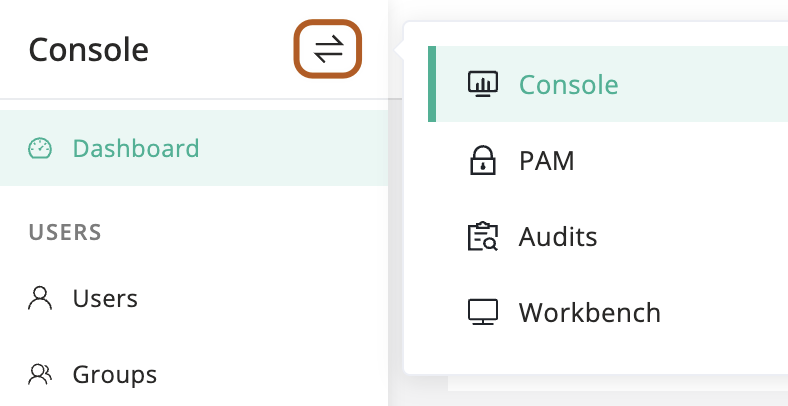
At the top-left of the page, select , then click **Console**.
2
In the left menu, click ** Users**.
3
In the user table, click the name of the user you want to enable or disable.
4
On the user details page, click **Basic** tab.
5
In the Quick update card, turn on/off the "Active" toggle to **enable** or **disable** the user.
## Bulk enable or disable users
1
At the top-left of the page, select , then click **Console**.

2
In the left menu, click ** Users**.
3
In the user table, check the users you want to enable or disable.
4
Above the table, select **Actions ** button, then click ** Activate selected** or ** Disable selected**.