#TLDR
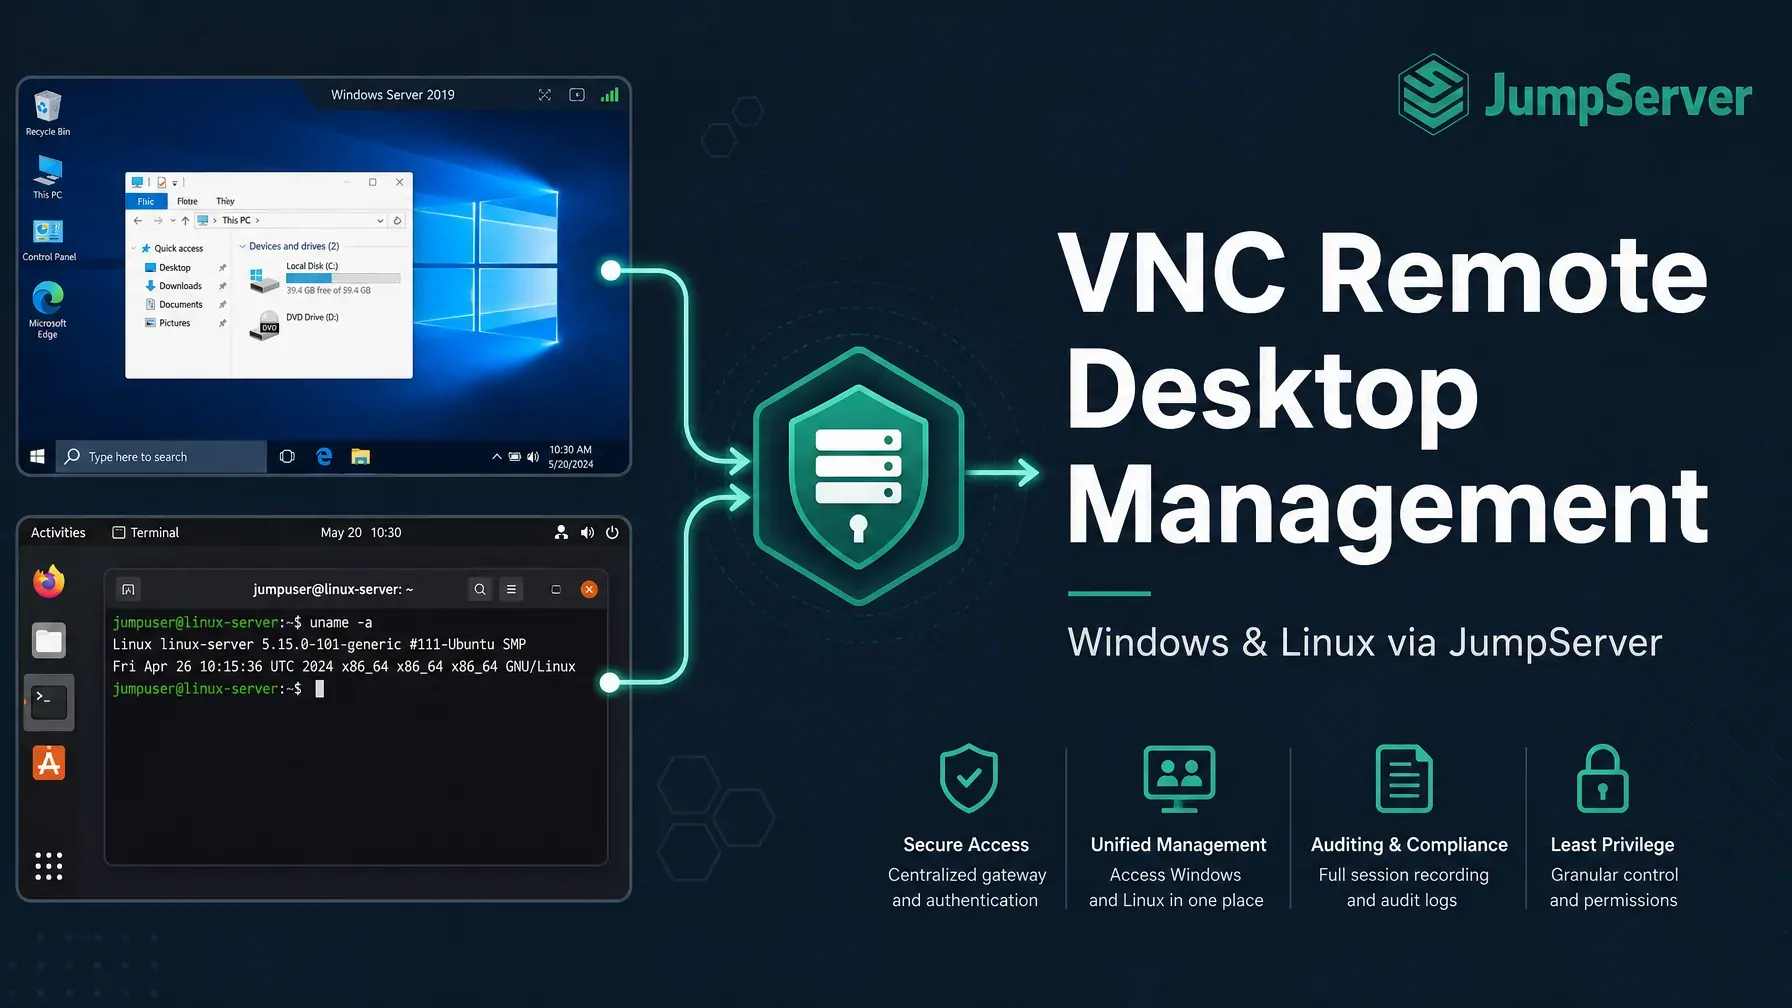
VNC (Virtual Network Computing) gives sysadmins full graphical desktop control over remote Windows and Linux servers, making it far more practical than SSH for GUI-heavy operations like software installation, file management, and visual configuration. Without a centralized access layer, though, direct VNC connections create audit gaps, shared credentials, and compliance exposure. JumpServer routes every VNC session through a single governed gateway, recording activity, enforcing account-level authorization, and eliminating the need for engineers to know root-level VNC passwords.
Table of Contents
- What Is VNC and Why IT Teams Use It
- Why VNC Access Needs Centralized Governance
- VNC vs. RDP: Choosing the Right Protocol
- Part 1: Connect Windows Assets via VNC in JumpServer
- Part 2: Connect Linux Assets via VNC in JumpServer
- Security Best Practices for VNC Access
- Conclusion
What Is VNC and Why IT Teams Use It
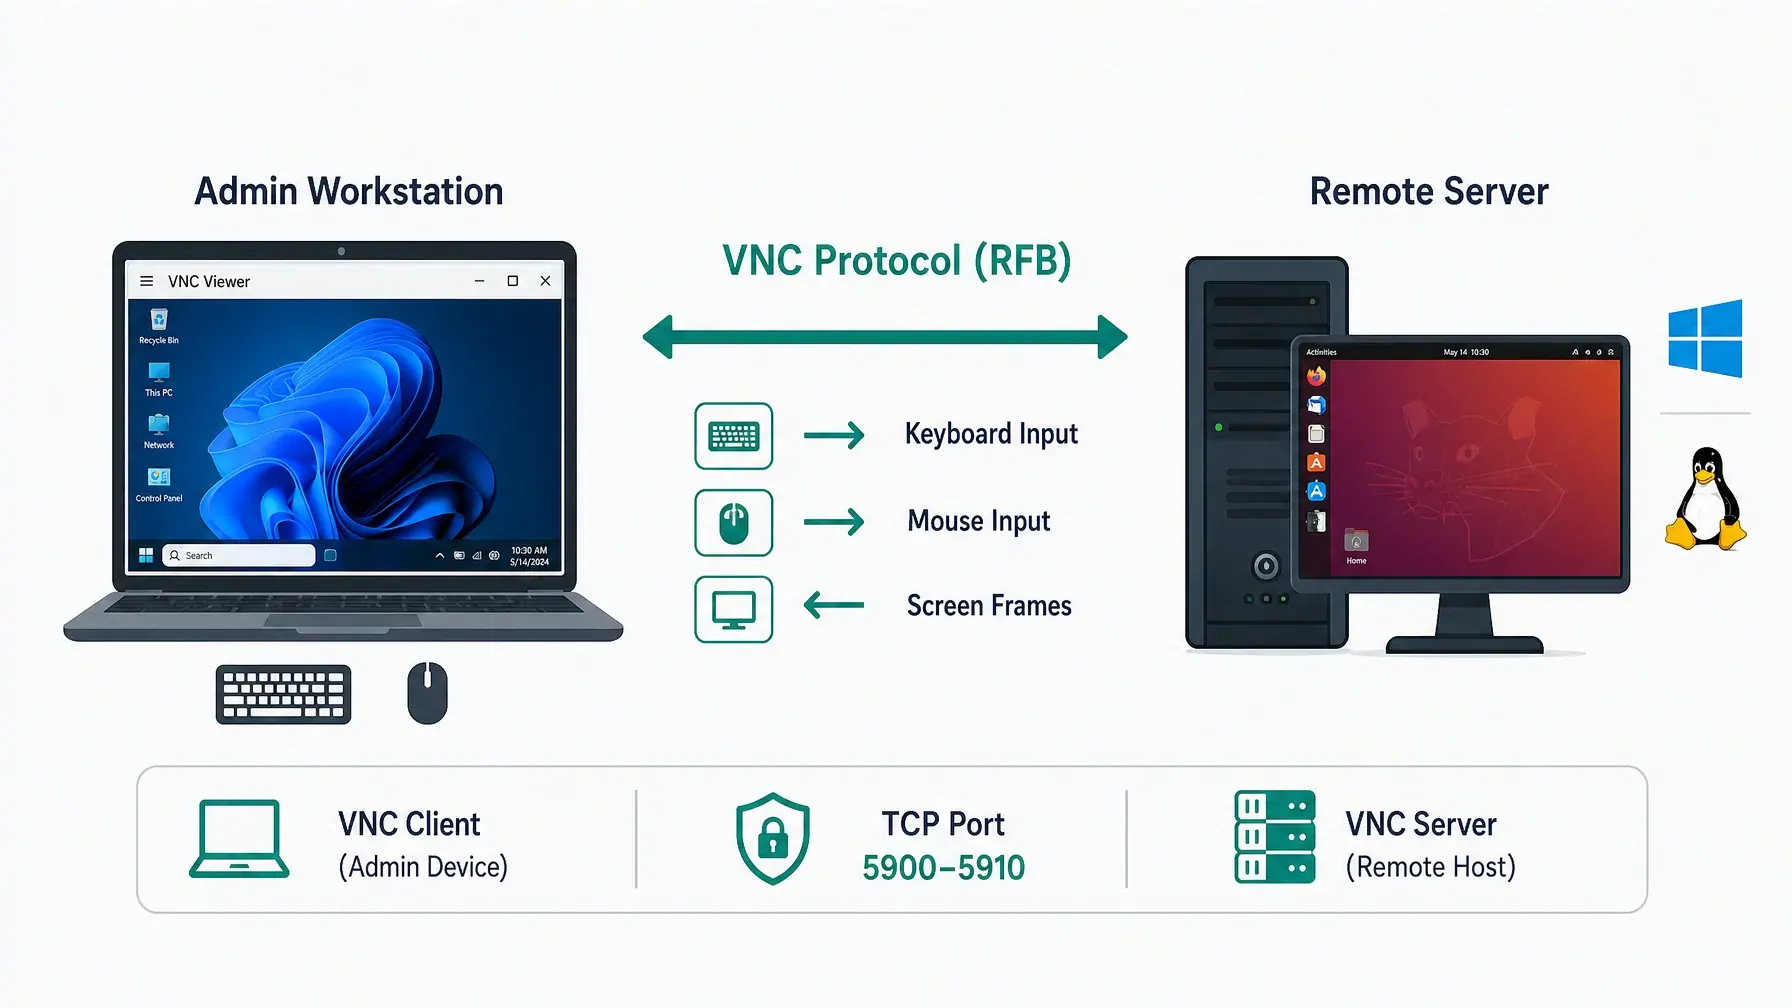
VNC stands for Virtual Network Computing. It is an open, cross-platform remote desktop protocol that transmits keyboard and mouse input to a remote machine and streams the graphical desktop back to the user in real time.
Unlike SSH, which gives you a terminal window, VNC gives you the full desktop GUI. That matters when you need to:
- Configure applications that lack CLI interfaces
- Perform visual software installations on remote servers
- Manage file systems through a graphical file manager
- Troubleshoot GUI-layer errors that do not surface in logs
- Support legacy systems running Windows or Linux desktop environments
VNC follows a client-server model. The VNC server runs on the machine you want to control (e.g., a Windows or Linux asset). The VNC client (also called VNC Viewer) runs on the administrator's device. Common implementations include:
| Implementation | Platform | Notes |
|---|---|---|
| TightVNC | Windows / Linux | Lightweight, widely deployed on Windows |
| TigerVNC | Linux / Windows | High performance, TLS encryption, systemd integration |
| RealVNC | Windows / Linux / macOS | Commercial offering with cloud relay |
| UltraVNC | Windows | Feature-rich, plugin support |
Why VNC Access Needs Centralized Governance
Direct VNC connections — where an administrator connects straight from their workstation to a server's IP on port 5900/5901 — create four compounding problems for enterprise environments:
1. Shared credentials. Most teams configure a single VNC password on the server. Everyone who needs access uses the same password, making individual accountability impossible.
2. No audit trail. There is no record of who connected, when, or what they did during the session. When a misconfiguration or incident occurs, forensic investigation has nowhere to start.
3. Firewall exposure. Exposing VNC ports (5900–5910) on production servers dramatically increases the attack surface. Attackers actively scan for open VNC ports — research by Shodan consistently shows hundreds of thousands of publicly accessible VNC instances.
4. Compliance gaps. Frameworks like PCI DSS, HIPAA, ISO 27001, and SOC 2 require that privileged access to systems be controlled, logged, and reviewable. Unmanaged VNC connections fail all four requirements.
The solution is a PAM (Privileged Access Management) platform that acts as a centralized proxy for all VNC sessions. JumpServer does exactly this: every VNC connection routes through JumpServer, which enforces authorization policies, records sessions, and maintains a tamper-evident audit log.
VNC vs. RDP: Choosing the Right Protocol
Before diving into configuration, it helps to know when VNC is the right choice versus Microsoft's RDP.
| Attribute | VNC | RDP |
|---|---|---|
| Cross-platform | Yes — works on Linux, Windows, macOS | Primarily Windows; Linux support via third-party clients |
| Protocol type | Open standard (RFB protocol) | Proprietary (Microsoft) |
| Encryption | Varies by implementation (TLS available in TigerVNC) | Built-in TLS + NLA |
| Performance | Lower on high-latency WAN links | Optimized for WAN |
| GUI applications | Full graphical desktop sharing | Full graphical desktop sharing |
| Linux support | Native — any desktop environment (GNOME, KDE, XFCE) | Requires xrdp or similar |
| Best for | Mixed OS environments, Linux GUI servers, legacy systems | Windows-first environments |
VNC wins when your infrastructure includes Linux servers with graphical desktop environments, or when you need cross-platform client compatibility without licensing dependencies.
Part 1: Connect Windows Assets via VNC in JumpServer
Prerequisites and TightVNC Setup
Before adding a Windows machine as a VNC-managed asset in JumpServer, complete the following on the Windows host:
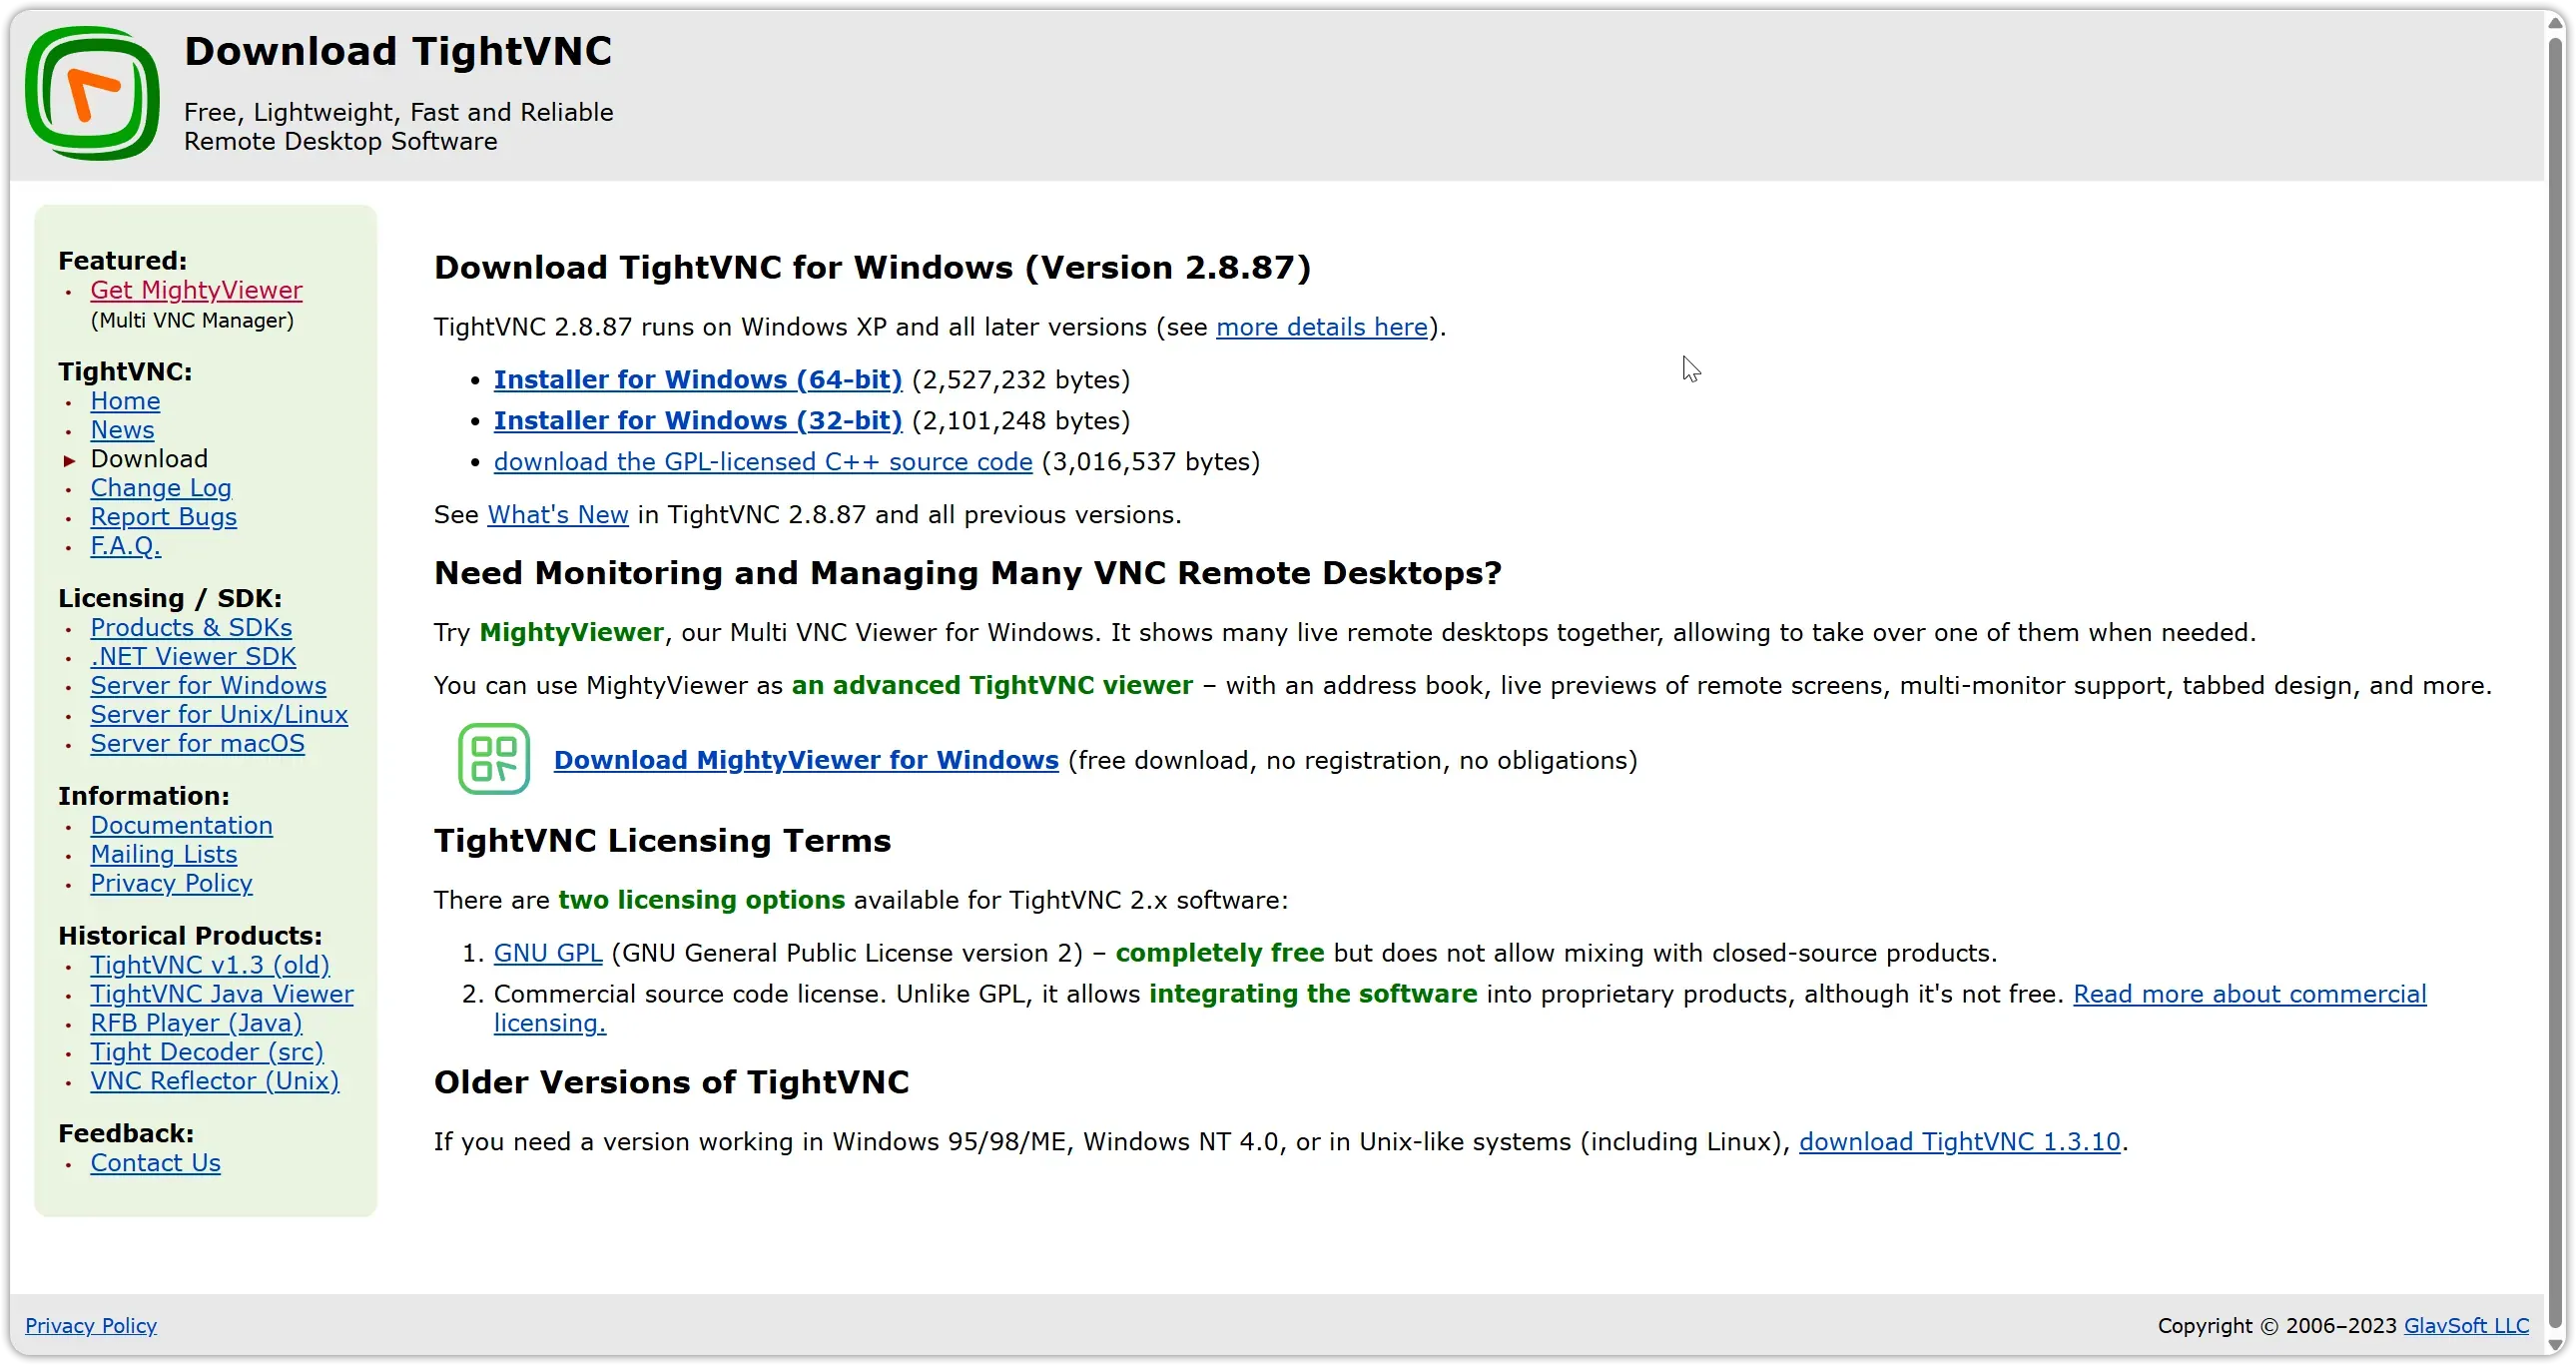
Install TightVNC. Download the installer from https://www.tightvnc.com/download.php and run it on the Windows server. During installation, set a strong VNC password. Note it — you will need it in JumpServer.
Create a Windows asset with the VNC protocol. In the JumpServer console, go to Assets, add the Windows server, and assign the VNC protocol. JumpServer will use the null account's password to authenticate the VNC session.
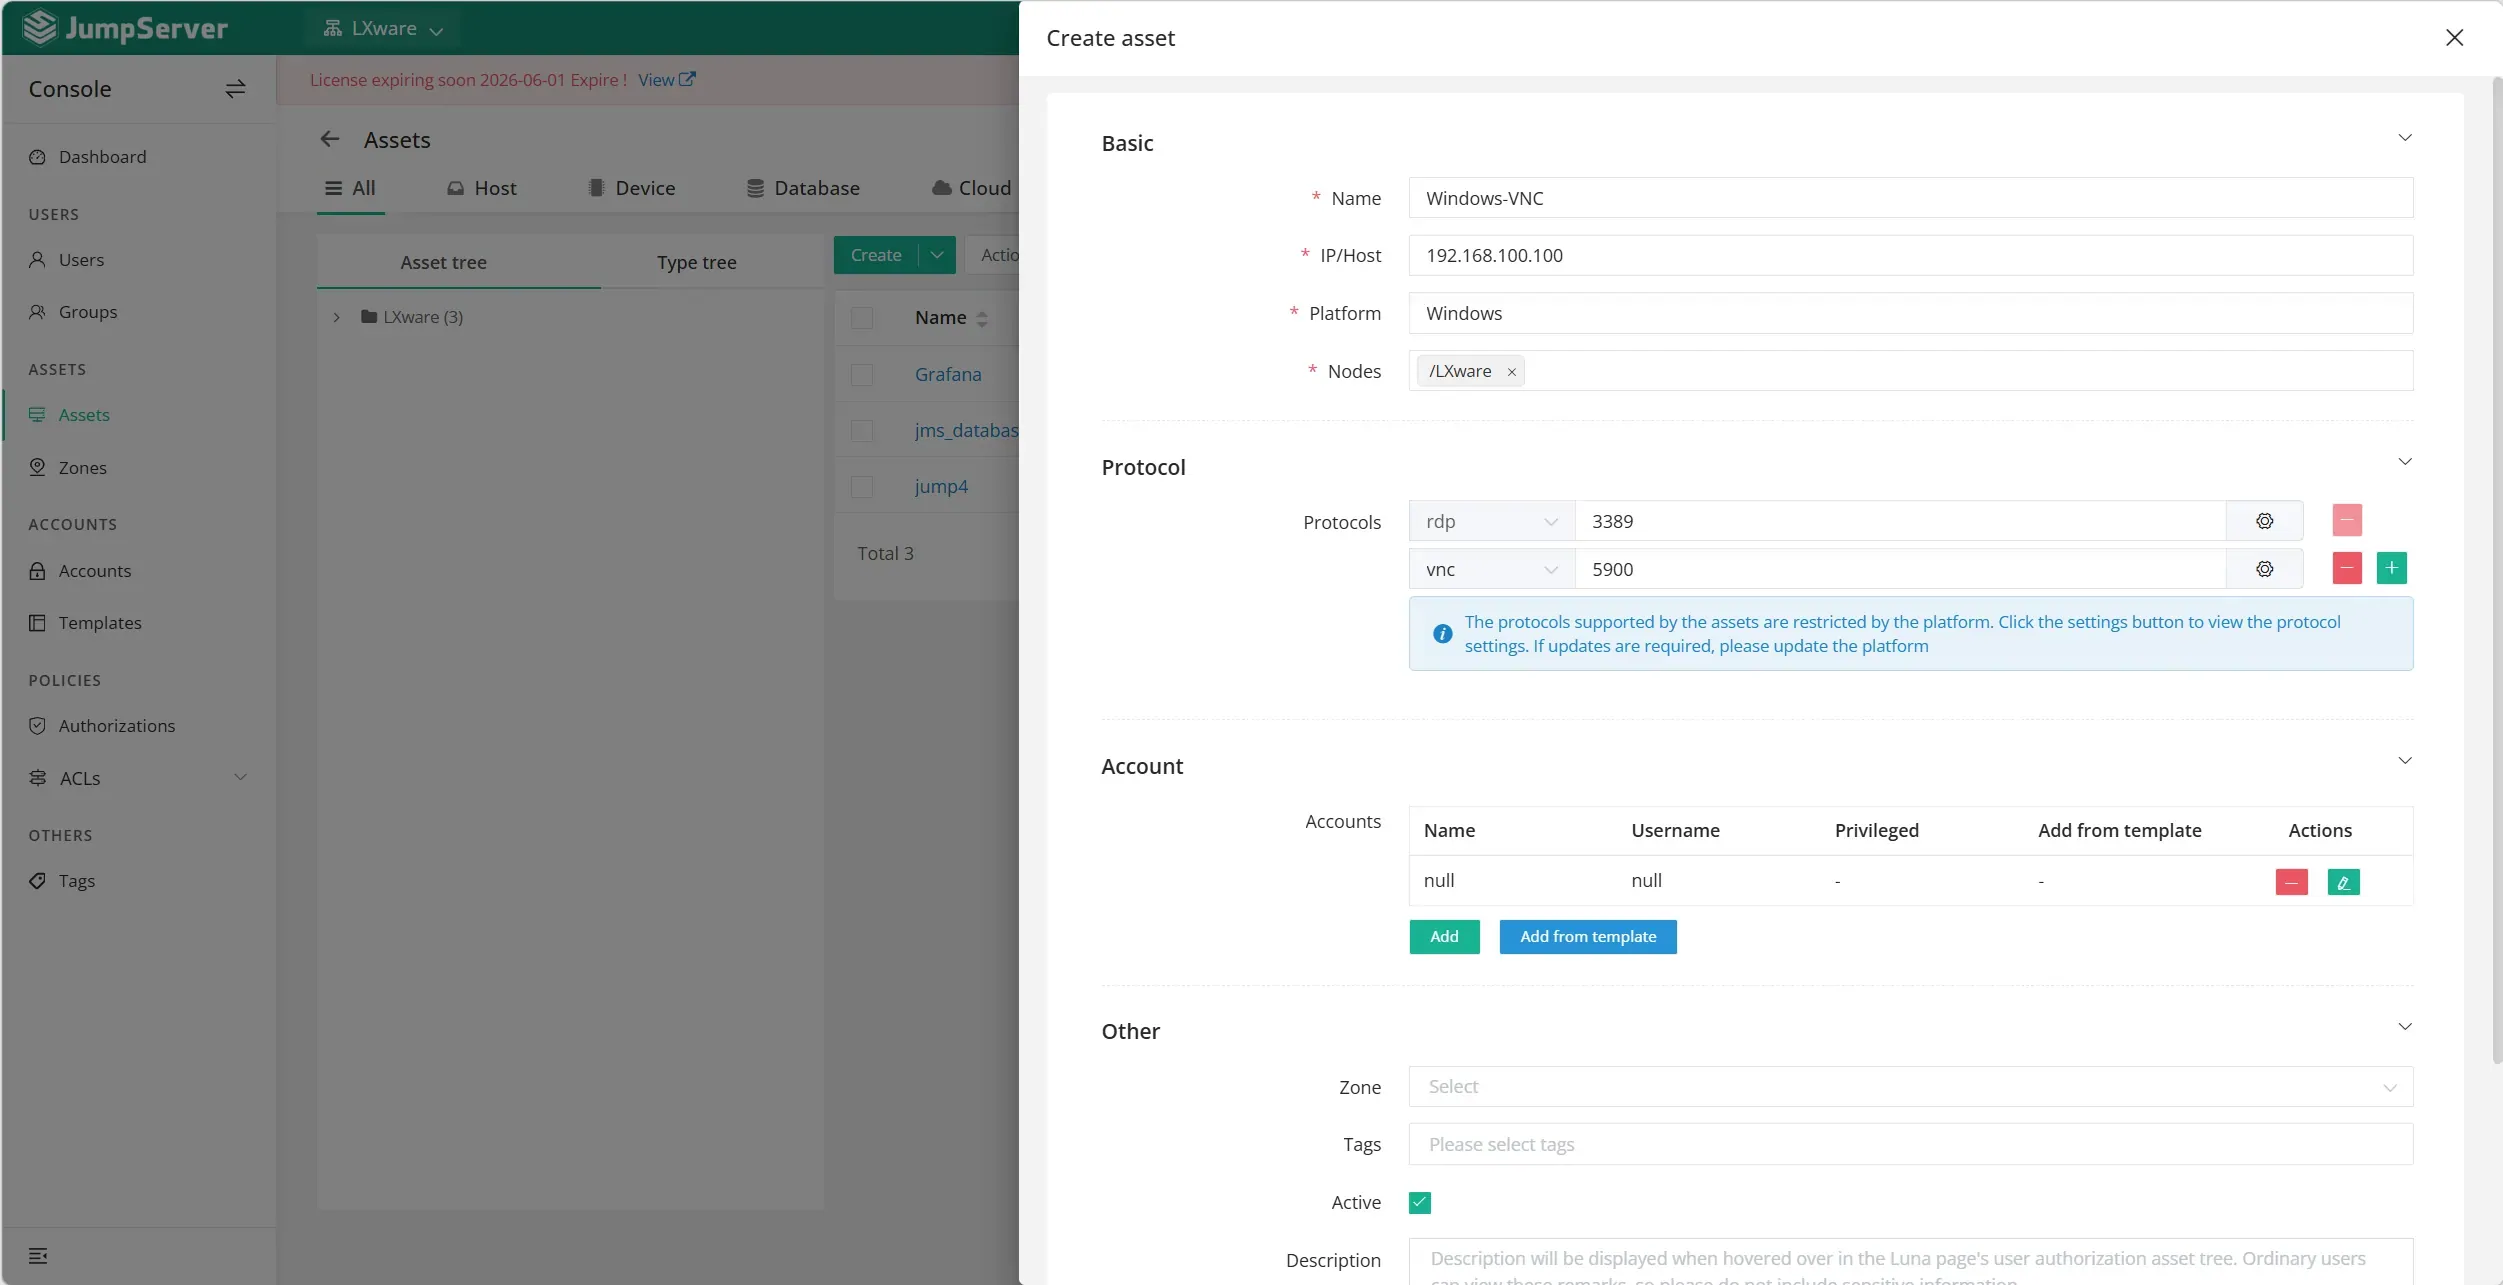
Add a null account in JumpServer. In JumpServer, create an account entry for this asset with:
- Username:
null(or any placeholder) - Password: the VNC password you set in TightVNC
TightVNC download: https://www.tightvnc.com/download.php
Option A: Web GUI Connection
JumpServer includes a built-in browser-based VNC client. No software installation on the administrator's workstation is required.
- Log in to the JumpServer web console.
- Navigate to My Assets and find the Windows host.
- Click Connect and choose VNC.
- The graphical desktop loads directly in your browser window.
This method suits occasional access, help desk workflows, and situations where installing a VNC client on every admin workstation is impractical.
Option B: VNC Client (TigerVNC Viewer via JumpServer Client)
For administrators who prefer a native VNC Viewer experience with better performance:
- Download the JumpServer Client from your JumpServer instance.
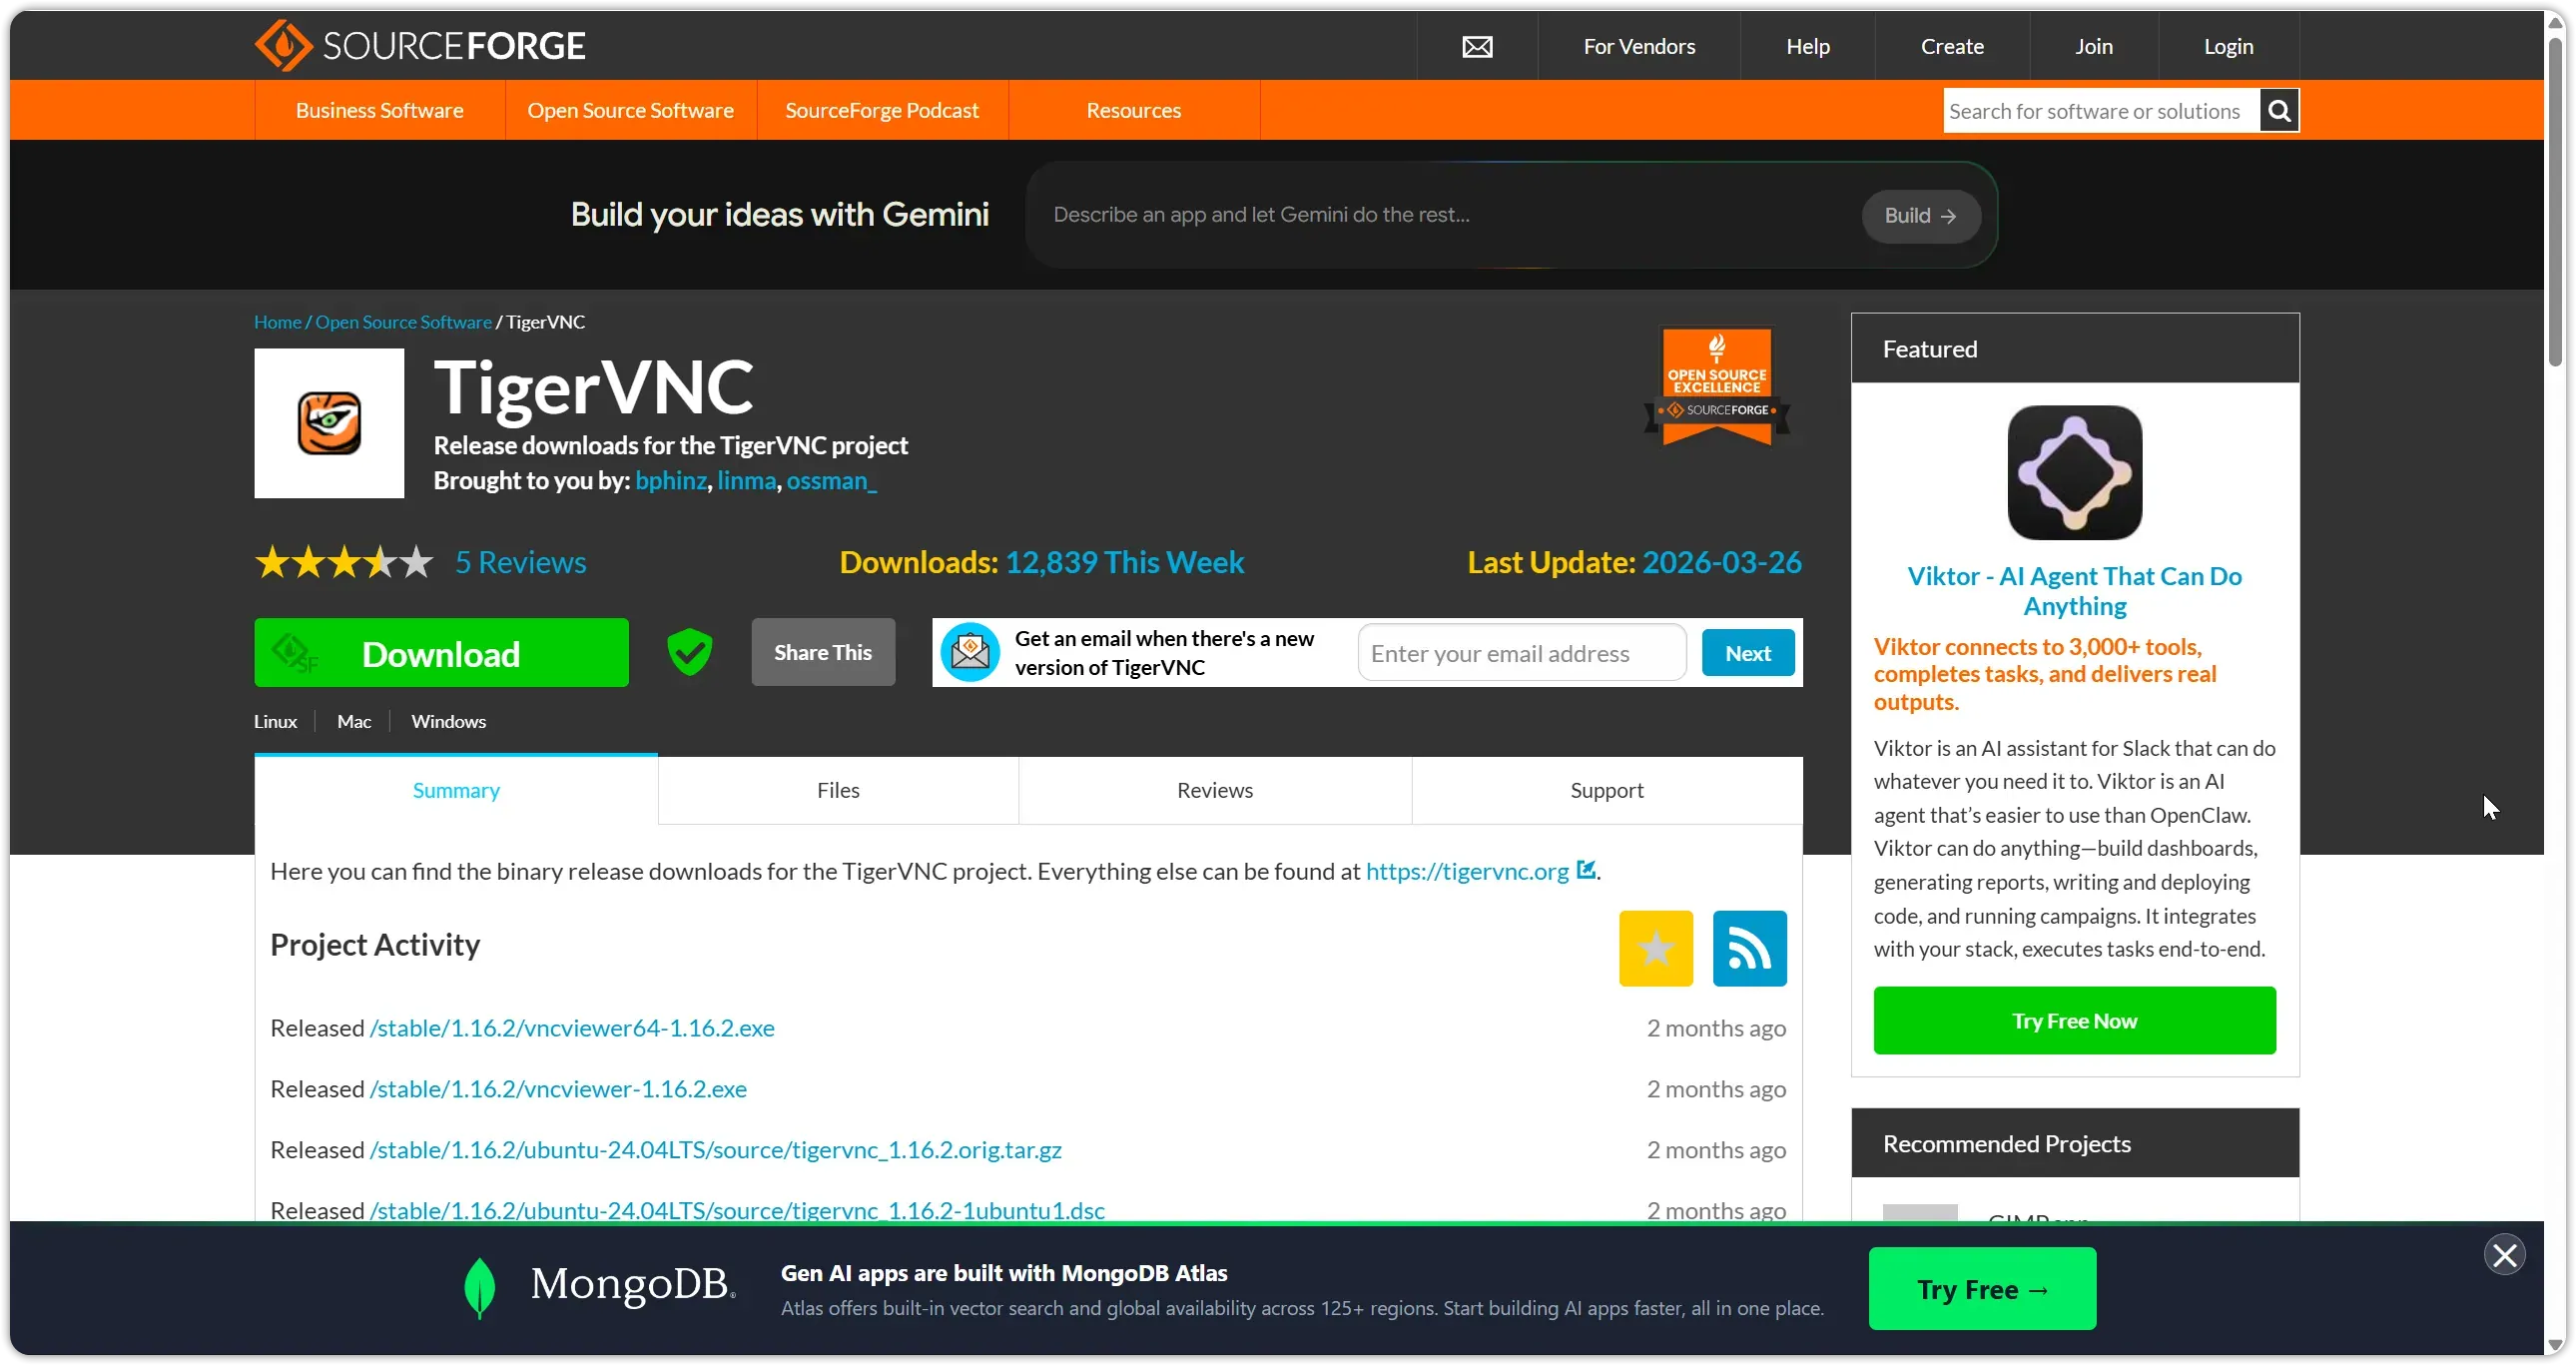
- Download TigerVNC Viewer from https://sourceforge.net/projects/tigervnc/.
- Configure the TigerVNC path in JumpServer Client for VNC protocol.
- When you launch the connection, JumpServer Client starts TigerVNC Viewer automatically and proxies the session through JumpServer.
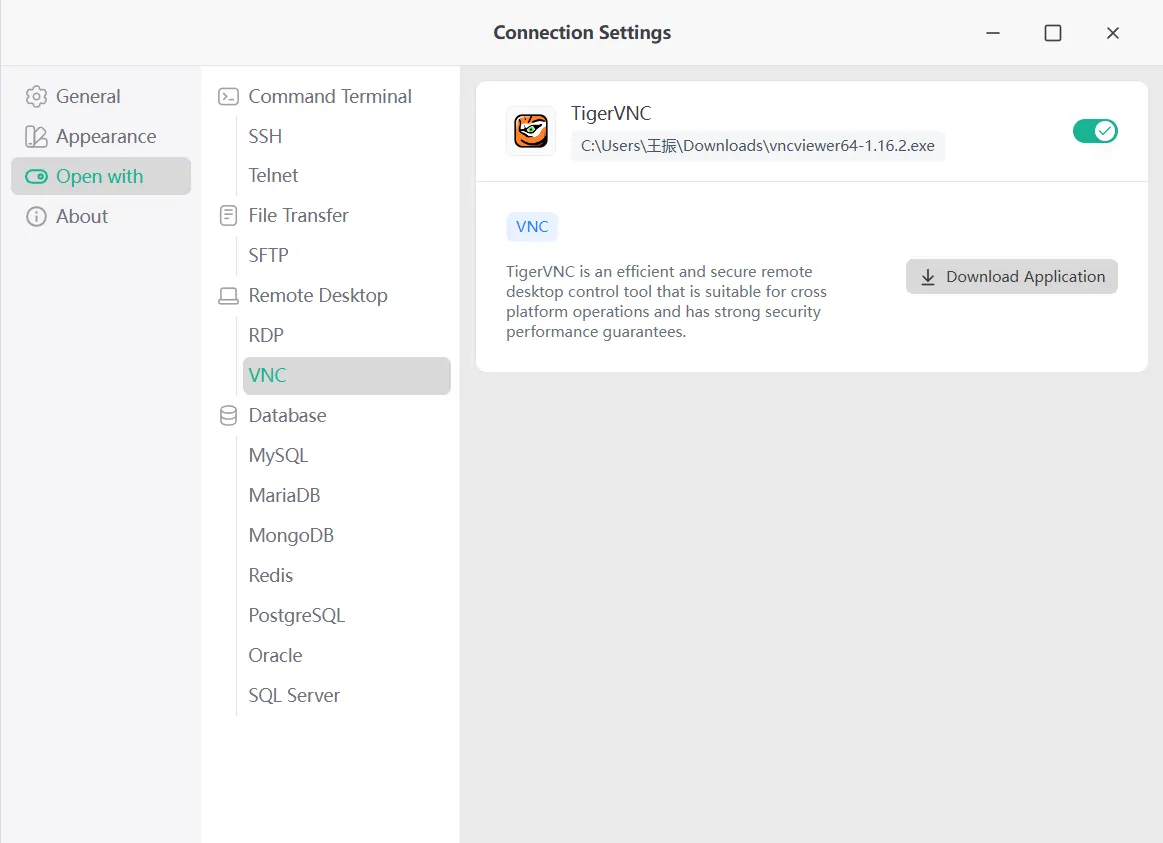
The key advantage: the administrator never sees the VNC password. JumpServer injects credentials transparently, maintaining full password governance.
Connection wizard flow:
- Open JumpServer Client → select the Windows asset
- Choose VNC as the protocol
- Launch → JumpServer Client opens TigerVNC Viewer and connects
- The VNC desktop appears; the session is recorded in JumpServer
Option C: Remote Application Connection
JumpServer also supports remote application publishing, where individual Windows applications (rather than a full desktop) stream to the user. This requires:
- An application publishing host deployed in your environment
- TigerVNC installed on that publishing host
- The remote application configured in JumpServer's app publishing settings
This mode is ideal for scenarios where you want to give users access to a specific Windows application (e.g., a database admin GUI or an ERP client) without exposing the full desktop.
Part 2: Connect Linux Assets via VNC in JumpServer
Linux VNC setup requires more configuration than Windows because most Linux servers run without a graphical interface by default. The steps below use CentOS 8.5 and TigerVNC as the reference implementation. The process is substantially similar for RHEL, Rocky Linux, and AlmaLinux.
Step 1 – Install a Desktop Environment (Optional)
A VNC server needs a graphical environment to share. If you already have a Desktop Environment on your Linux server, you can skip this step. If your Linux server runs in multi-user (headless) mode, install a desktop environment first:
# List available software groups to confirm the group name
dnf grouplist

# Install the full GNOME desktop environment (CentOS 8.5)
dnf groupinstall -y "Server with GUI"

# Set graphical mode as the default boot target
systemctl set-default graphical.target

# Verify the change
systemctl get-default
# Expected output: graphical.target

# Reboot to apply all changes
reboot
Note: To revert to headless mode later, run
systemctl set-default multi-user.targetand reboot.
Step 2 – Install TigerVNC Server
TigerVNC is the recommended VNC server for enterprise Linux environments. It supports TLS encryption, systemd integration, and multi-user sessions.
# Install TigerVNC server
dnf install tigervnc-server -y

# Verify installation
rpm -qa | grep tigervnc-server
A successful install outputs a package name like tigervnc-server-1.12.x-x.el8.x86_64.
Step 3 – Create a Dedicated VNC User
Create a dedicated system account for VNC sessions. Using a dedicated account — rather than root — limits the blast radius if credentials are ever compromised.
# Create the VNC user
adduser VNC01

# Set the system login password (used to unlock the GNOME desktop)
passwd VNC01
Security note: Do not use
rootas the VNC session user. Privilege escalation from within a recorded VNC session is far easier to audit when the session starts from a non-root account.
Step 4 – Configure the VNC systemd Service
TigerVNC uses systemd templates. The :1 display identifier maps to port 5901 (5900 + 1). If you need multiple simultaneous VNC sessions, create additional service files for :2 (port 5902), :3 (port 5903), and so on.
# Copy the template service file for display :1
cp /lib/systemd/system/[email protected] \
   /etc/systemd/system/vncserver@:1.service

# Edit the service file
vim /etc/systemd/system/vncserver@\:1.service
Replace the file content with the following:
[Unit]
Description=Remote desktop service (VNC)
After=syslog.target network.target

[Service]
Type=simple

# Clean stale lock files from /tmp/.X11-unix before starting
ExecStartPre=/bin/sh -c '/usr/bin/vncserver -kill %i > /dev/null 2>&1 || :'
ExecStart=/usr/bin/vncserver_wrapper VNC01 %i
ExecStop=/bin/sh -c '/usr/bin/vncserver -kill %i > /dev/null 2>&1 || :'

[Install]
WantedBy=multi-user.target
What
vncserver_wrapperdoes: It starts the VNC server as the specified user (VNC01) and ensures the session is tied to that user's environment, including their desktop session and home directory.
Step 5 – Set the VNC Password
The VNC password is separate from the system login password. JumpServer will use this password to authenticate the VNC connection.
# Switch to the VNC user
su - VNC01

# Set the VNC connection password
vncpasswd
# Enter password when prompted (twice)
# When asked "Would you like to enter a view-only password?", enter: n

# Return to root
exit
Record this VNC password. You will enter it in JumpServer when configuring the asset account.
Step 6 – Start and Enable the Service
# Reload systemd to pick up the new service file
systemctl daemon-reload

# Start the VNC service
systemctl start vncserver@:1.service

# Enable it to start automatically on boot
systemctl enable vncserver@:1.service

# Verify the service is running
systemctl status vncserver@:1.service
# Look for: Active: active (running)
Step 7 – Open the Firewall Port
VNC display :1 listens on TCP port 5901. Open this port in firewalld:
# Allow TCP port 5901 permanently
firewall-cmd --permanent --add-port=5901/tcp

# Reload the firewall to apply the rule
firewall-cmd --reload

# Verify the port is open
firewall-cmd --query-port=5901/tcp
# Expected output: yes
Tip: Only open VNC ports to the JumpServer host's IP, not to the entire network. Use a firewall rule like
--source=<jumpserver-ip>to restrict inbound connections.
Step 8 – Add the Asset in JumpServer
With the Linux VNC server running, configure the asset in JumpServer:
- Create a Linux asset. Go to Assets → Hosts, click Create, and enter the server's IP address and hostname.
- Add the VNC protocol. In the asset's protocol settings, add VNC on port 5901.
- Add an account. Create an account entry with username
VNC01and the VNC password set in Step 5. - Set up authorization. Assign asset access to the appropriate JumpServer user groups.
- Test the connection. Click Test Connection in the asset detail page. A green success indicator confirms JumpServer can reach the VNC server.
Once tested, administrators can connect via the web browser or JumpServer Client — with every session recorded, timestamped, and linked to an individual user account.
Security Best Practices for VNC Access via JumpServer
Running VNC through JumpServer eliminates the most critical risks, but a few additional hardening steps close remaining gaps:
1. Never expose VNC ports directly to the internet. All VNC access must route through JumpServer. Use firewall rules to allow VNC traffic only from the JumpServer server's IP.
2. Use dedicated VNC accounts, not root. The VNC session user should have the minimum permissions required. Privilege escalation within a session (e.g., sudo) will appear in JumpServer's session recording.
3. Rotate VNC passwords regularly. Treat VNC passwords as privileged credentials. JumpServer can store and rotate these through its password management module, eliminating manual password distribution.
4. Enable session recording. JumpServer records VNC sessions as video playback files. Activate this feature for all VNC-accessible assets to satisfy audit requirements under PCI DSS, HIPAA, and ISO 27001.
5. Use display-specific ports. Each VNC display maps to a unique port (:1 → 5901, :2 → 5902). Limit firewall rules to only the ports in active use.
6. Monitor for anomalous session behavior. JumpServer's session management dashboard flags unusual patterns — long sessions, off-hours connections, and connections from unexpected locations.
Conclusion
VNC gives enterprise IT teams full graphical control over remote Windows and Linux servers — a capability that SSH simply cannot match for GUI-heavy workloads. Configuring TightVNC on Windows and TigerVNC on Linux takes under 30 minutes per host, and routing those connections through JumpServer converts every VNC session from an unaudited, credential-sharing risk into a governed, recordable, individually accountable privileged access event.
The result is operational flexibility without the compliance exposure that comes with direct VNC access.
Ready to centralize your VNC access management? JumpServer supports VNC, RDP, SSH, SFTP, and more from a single platform. With 500,000+ deployments and 30,000+ GitHub stars, it is the most widely adopted open-source PAM solution for enterprises managing mixed Windows and Linux infrastructure.
Start your free trial at jumpserver.com or explore the Community Edition on GitHub.