Create a web asset
About web asset
Web assets are a type of resource supported by JumpServer, designed for accessing web systems through remote applications. They are suitable for centrally managing internal systems, SaaS services, or other web-based applications.
Web assets rely on remote application publishers, which can be deployed on either Windows or Linux systems.
When a user connects to a web asset, the system automatically calls the publisher to launch a preconfigured browser that accesses the target system. This approach enables secure and controlled access, effectively preventing users from directly accessing the target address.
Prerequisites
- You must have created at least one RemoteApp machine or an VirtualApp publisher.
Create a web asset
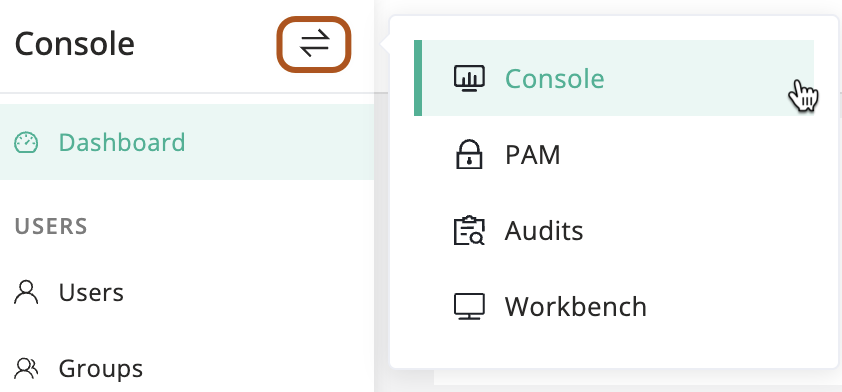
At the top-left of the page, select , then click Console.
In the left menu, click Assets.
On the right page, click Web tab.
Above the table, click Create, or the to its right.
Select the Website platform.
Type a name for the website.
Type the website URL, include the port number if it is not 80 or 443.
Select one or more nodes.
Choose a autofill method. For more information, see About autofill.
Optionally, add accounts manually or from a template.
Optionally, select only one zone.
Optionally, select one or more tags.
Optionally, type a description for the website.
Click Submit or Save & Continue.
About autofill
The autofill feature is mainly used for websites that require user authentication. Before the user accesses such a website, JumpServer automatically fills in the predefined username and password on the login page to complete authentication. This process is transparent to the user, requiring no manual input of credentials.
1. Disabled
This disabled method is intended for websites that do not require authentication.
2. Basic
The basic method is suitable for websites where the username, password, and login button are all on the same page. JumpServer automatically fills in the credentials and submits the form to authenticate the user.
When auto-filling information, it is necessary to locate elements on the web page. The supported selector types include Name selectors, ID selectors, Class selectors, CSS selectors, and XPath selectors. For more information, see Selenium Python: Locating Elements (opens in a new tab).
3. Script
This script method is intended for websites with complex login procedures. It supports advanced automation, including multi-step authentication and interaction with dynamic page elements.
Script structure
The script here is an array, where each element is a dictionary, representing a step in the script. Each step contains the following keys:
| Key | Required | Type | Description |
|---|---|---|---|
step | Yes | Integer | Indicates the execution order of the script, starting from 1 and increasing sequentially. |
value | Yes | String | Built-in variables supported: {USERNAME}, {SECRET}. If the command is not type, leave the value as an empty string. |
target | Yes | String | The target element to be operated on, which can be a selector or an XPath expression. |
command | Yes | String | The command to be executed, which can be one of the following: click, type, sleep, select_frame. |
command options:
| Command | Description |
|---|---|
click | Click the target element. |
type | Type the value into the target element. |
sleep | Pause the script for a specified duration, typically to allow page loading during navigation. The duration is specified by target, in seconds. |
select_frame | Switch to the specified iframe for operations. The target supports options like id=iframe_id, name=iframe_name, or index=1. If index < 0, it switches back to the default/main iframe). |
Script example
- Switch to the iframe with
id=iframe_id. - Type the username into the input field with
name=username. The{USERNAME}variable will be replaced with the actual username when the script is executed. - Click the next button to proceed to the next step in the login process.
- Pause the script for 5 seconds to allow the next page to load.
- Type the password into the input field with
name=password. The{SECRET}variable will be replaced with the actual password when the script is executed. - Click the submit button to complete the login process.
[
  {
      "step": 1,
      "command": "select_frame",
      "target": "id=iframe_id",
      "value": ""
  },
  {
      "step": 2,
      "command": "type",
      "target": "name=username",
      "value": "{USERNAME}"
  },
  {
      "step": 3,
      "command": "click",
      "target": "id=next_button",
      "value": ""
  },
  {
      "step": 4,
      "command": "sleep",
      "target": "5",
      "value": ""
  },
  {
      "step": 5,
      "command": "type",
      "target": "name=password",
      "value": "{SECRET}"
  },
  {
      "step": 6,
      "command": "click",
      "target": "id=submit_button",
      "value": ""
  }
]