Create user
About user
In JumpServer, User is a core entity of the system, used for logging in and accessing assets, and also serves as the fundamental object for administrators to grant resource permissions.
All users are unique globally and can be assigned multiple system roles, thereby inheriting the corresponding system-level permissions.
In the Enterprise edition, a user can belong to multiple organizations and have multiple organization roles, enabling fine-grained permission control across or within organizations.
Create a user
At the top-left of the page, select , then click Console.
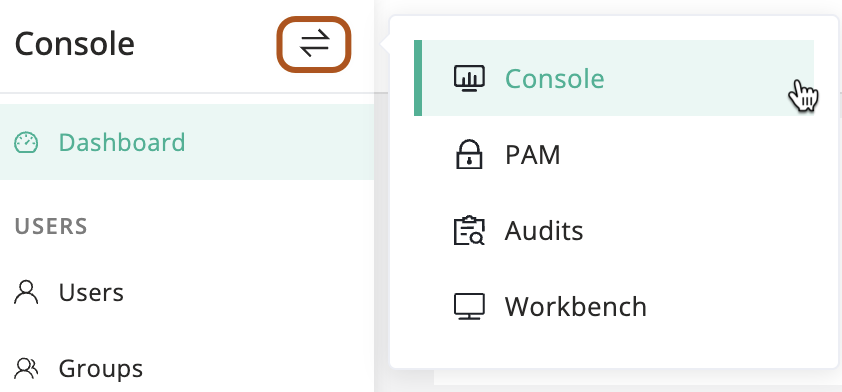
In the left menu, under the USERS section, click Users.
Click + Create.
Type user information. About user parameters, see User parameters reference.
Click Submit.
Duplicate a user
At the top-left of the page, select , then click Console.
In the left menu, under the USERS section, click Users.
In the user table, find the user that you want to duplicate.
In the Actions column, click the ··· icon, then click Duplicate.
Modify user information, including at least the Name, Username, and Email.
Click Submit.
User parameter reference
Name
required
The name is used to identify a user.
Username
required unique
The username is used to log in to JumpServer.
required unique
The user email is primarily used to receive system notifications. It also supports the following functions:
- Users can use their email as the username to log in to JumpServer.
- Used for password recovery.
- Serves as a method for multi-factor authentication (MFA) and receive MFA codes.
For more information about configuring the email service, see Email service configuration guide.
For more information on using Email as an MFA method, see MFA via email.
Groups
User groups are used for organizing and managing users. A user can belong to multiple groups.
Password setting
(Create local user only) Choose the method for setting the password for a newly created user.
-
Reset link will be generated and sent to the user
This will send a password setup email to the user. The user can log in after resetting the password as instructed.
-
Set password
Manually set password. The user can log in directly with this password.
Change secret
(Edit local user only) When editing a user, check to update the user’s password.
Password
(Local user only) The user can log in to the system using this password.
Password rules can be configured in the system settings, including requirements for length, uppercase and lowercase letters, numbers, and special characters.
When Password must be changed during next login is checked, the user will be required to change the password immediately after the first successful login.
MFA
Configure the Multi-Factor Authentication (MFA) policy for a single user.
-
Disabled
MFA is disabled by default, but users can enable it from their profile page.
-
Enabled
MFA is enabled for the user, but they can disable it from their profile page.
-
Force enabled
MFA is enforced for the user, and they cannot disable it.
You can also configure a global MFA policy in the system settings. For more information, see Global MFA.
MFA supports the following methods:
- One-Time Password (OTP)
- SMS
- Passkey
- Facial recognition
Source
User source identifies the user authentication backend. JumpServer supports integrating and enabling multiple authentication services simultaneously. When the same user exists in multiple services, this field helps distinguish the user’s source. Local user belongs to the local database.
When a user logs in, the system will, by default, authenticate them using all enabled backends sequentially. Administrators can also configure the system to allow authentication only from the user’s source, which helps improve authentication efficiency.
System roles
required
System roles define a user’s position in the system and grant only the permissions assigned to each role. Multiple system roles can be assigned, with permissions combined.
Built-in roles include:
- User
- System Admin
- System Auditor
A system role grants the user all permissions across all organizations. Administrators can also create custom system roles.
Organization roles
required
(Enterprise only) Organization roles define a user’s position within the current organization and grant only the permissions assigned to each role. Multiple organization roles can be assigned, with permissions combined.
Built-in roles include:
- User
- Organization Admin
- Organization Auditor
You can click Manage role to view existing roles or create new ones.
Active
Active controls the user’s activation status. Being active is one of the requirements for logging into the system.
Additionally, the administrator can configure in System Settings to automatically disable users who have not logged in for an extended period. For more information, see Auto disable threshold (day).
Date expired
You can set a future expiration date for a user in advance. Once the user expires, they can't log in to JumpServer.
You can also set the default expiration days for new users in the configuration file. For more information, see USER_DEFAULT_EXPIRED_DAYS.
Phone
The user’s mobile phone number can be used to receive MFA codes.
Description
Additional descriptive information about the user.