

Cloud Sync
Cloud Sync requires JumpServer Enterprise Edition. The menu entry is hidden when the license is missing or the account lacks cloud sync permissions.
Cloud Sync imports hosts and database instances from cloud platforms and keeps the JumpServer asset inventory in step with the instances that actually exist. A cloud account stores the platform credentials and the sync task settings, a sync policy decides which instances are imported, and the synchronize instance tab shows what the last run produced.
Open the page from Console > Assets > Hosts > Cloud Sync. The page title is Host - Cloud sync; the same feature is available for database instances with the Database category.
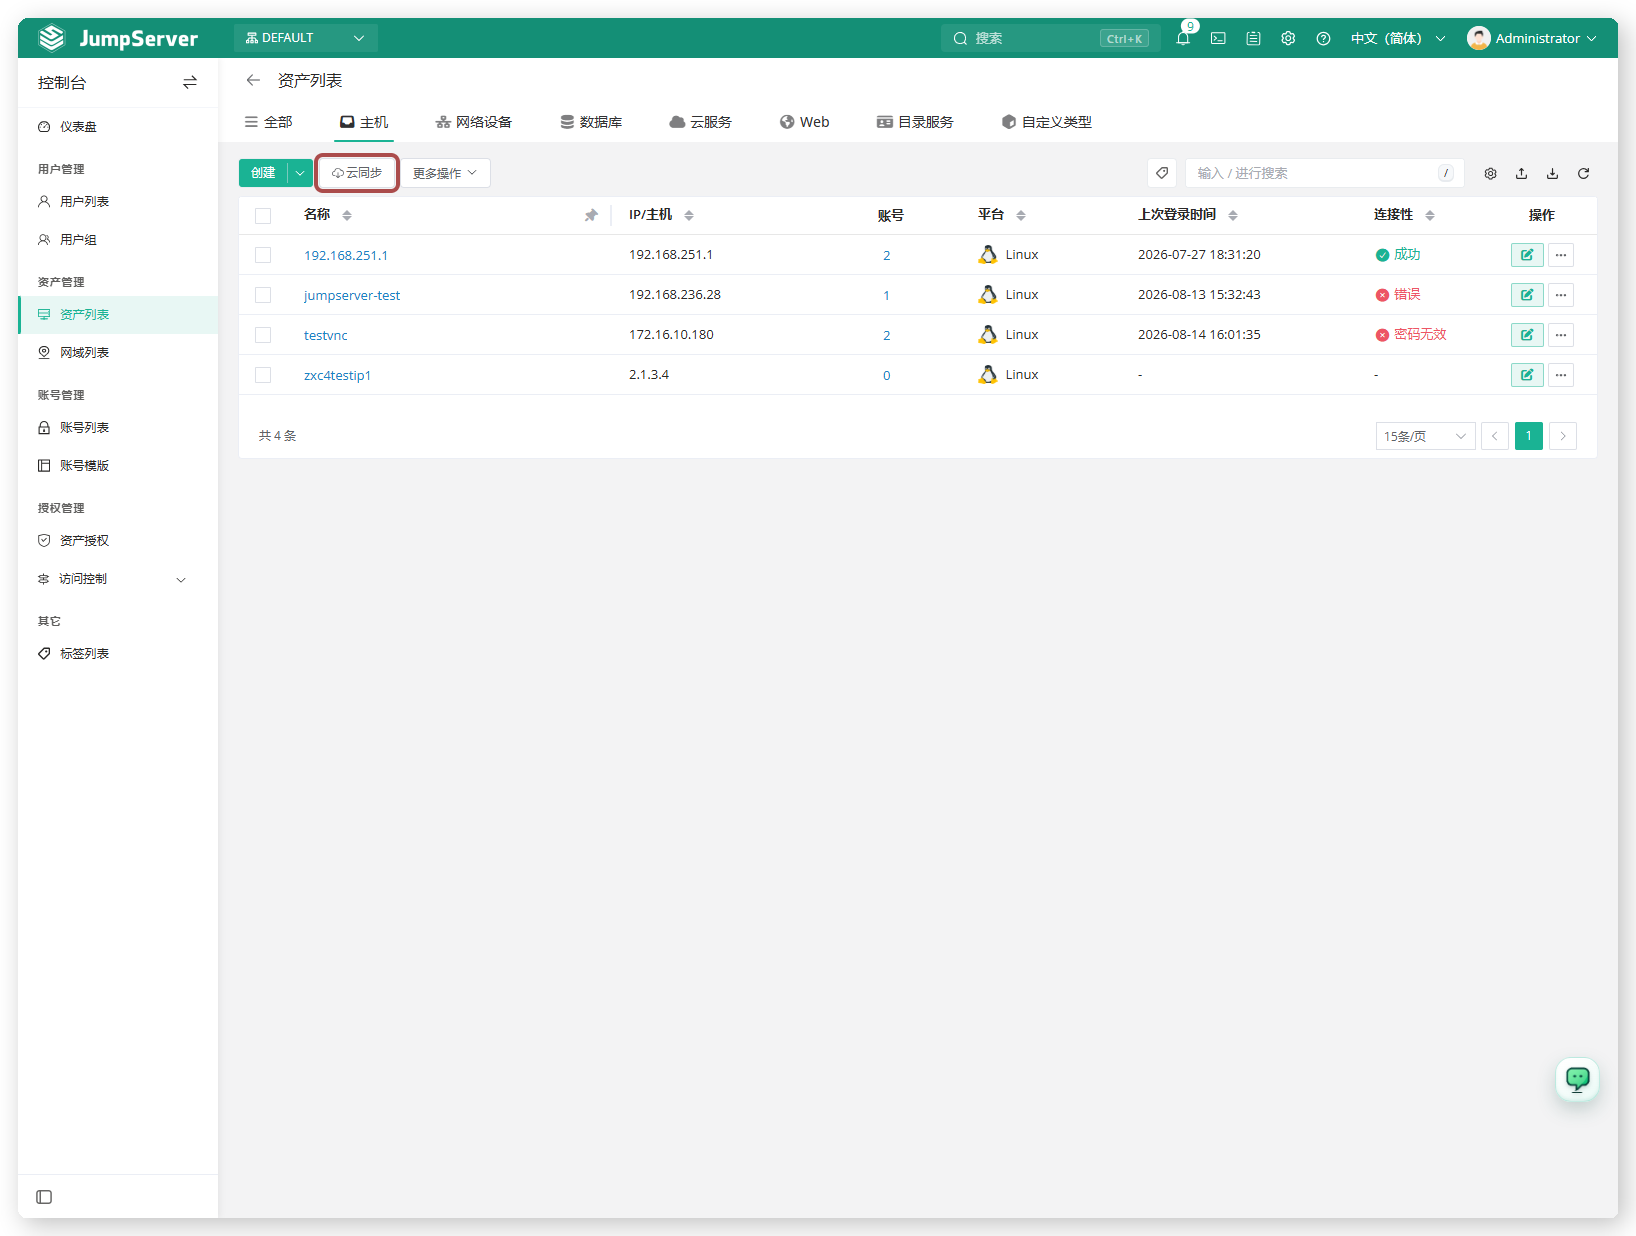
Overview
The page has three tabs:
Before you begin
- Sign in with an account that can manage assets and cloud sync.
- Have credentials for the cloud platform, and make sure JumpServer can reach the platform API endpoint.
- Decide which regions and instances should be imported, and which node in the asset tree should receive them.
Until a cloud account is configured, the Synchronize instance tab stays empty. Create the account first, then review the policy, then run the sync.
Create a cloud account
Open the Accounts tab and click Create.
Select the provider in the wizard and click Next.
In the Authentication step, enter the credentials and region details.
In the Sync step, select the instances to import and the node that should receive them, then review the Result step and submit.
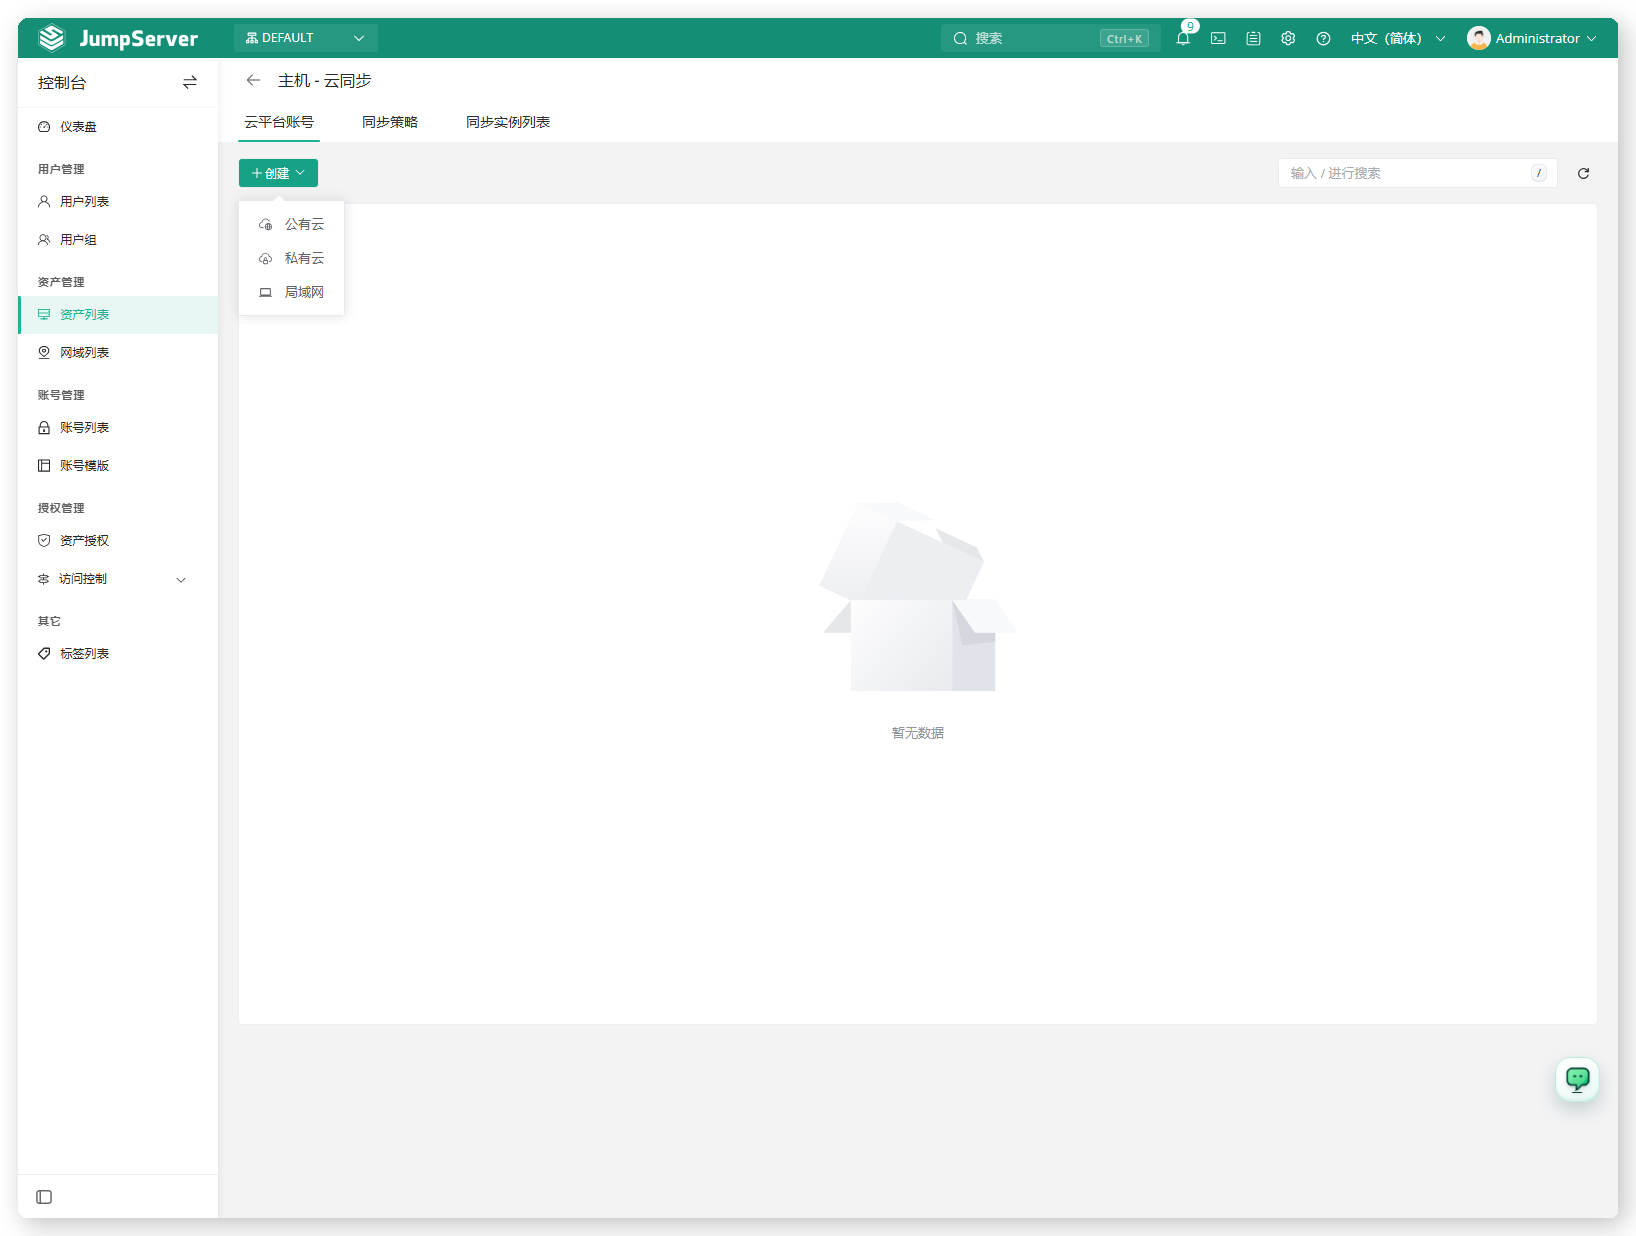
After the account is created, open it to adjust the sync task: the source IP type (public or private), whether released instances are removed from the inventory, whether existing assets are always updated, and the sync Timer (periodic interval or crontab). The account detail also shows the sync policy relation.
Work with sync policies
A sync policy is an ordered set of rules. Each policy has a name, a priority, rules that match instances, actions applied to matched instances, and a rule relation (all or any). Lower priority values are evaluated earlier. Keep policies narrow: one policy per platform or region is easier to troubleshoot than a single policy that spans many environments.
Open the Sync policy tab and click Create.
In Create sync policy, enter a Name and Priority.
Add the rules and actions, choose the rule relation, then click Submit.
Review sync results
Run the sync, or wait for the scheduled run to start.
Open the Synchronize instance tab to review the discovered instances and their status.
Return to the Hosts tab of the asset list and confirm that the expected hosts now appear.
Synced hosts become normal assets: they can be added to nodes, bound to accounts, and authorized like manually created assets. If a host does not appear, check the policy rules first, then the account's connection state, and finally whether the instance already exists under a different address.