

Roles
Role management requires JumpServer Enterprise Edition. Enterprise Edition lets you create system and organization roles and define their permissions.
Community Edition can only use the built-in roles. It cannot create roles or modify the permissions granted by an existing role.
Roles define what an administrator, auditor, or user is allowed to do. Since v4.9, role management lives in System Settings. JumpServer uses two role scopes: system roles, which apply across the whole deployment, and organization roles, which apply only inside one organization.
Overview
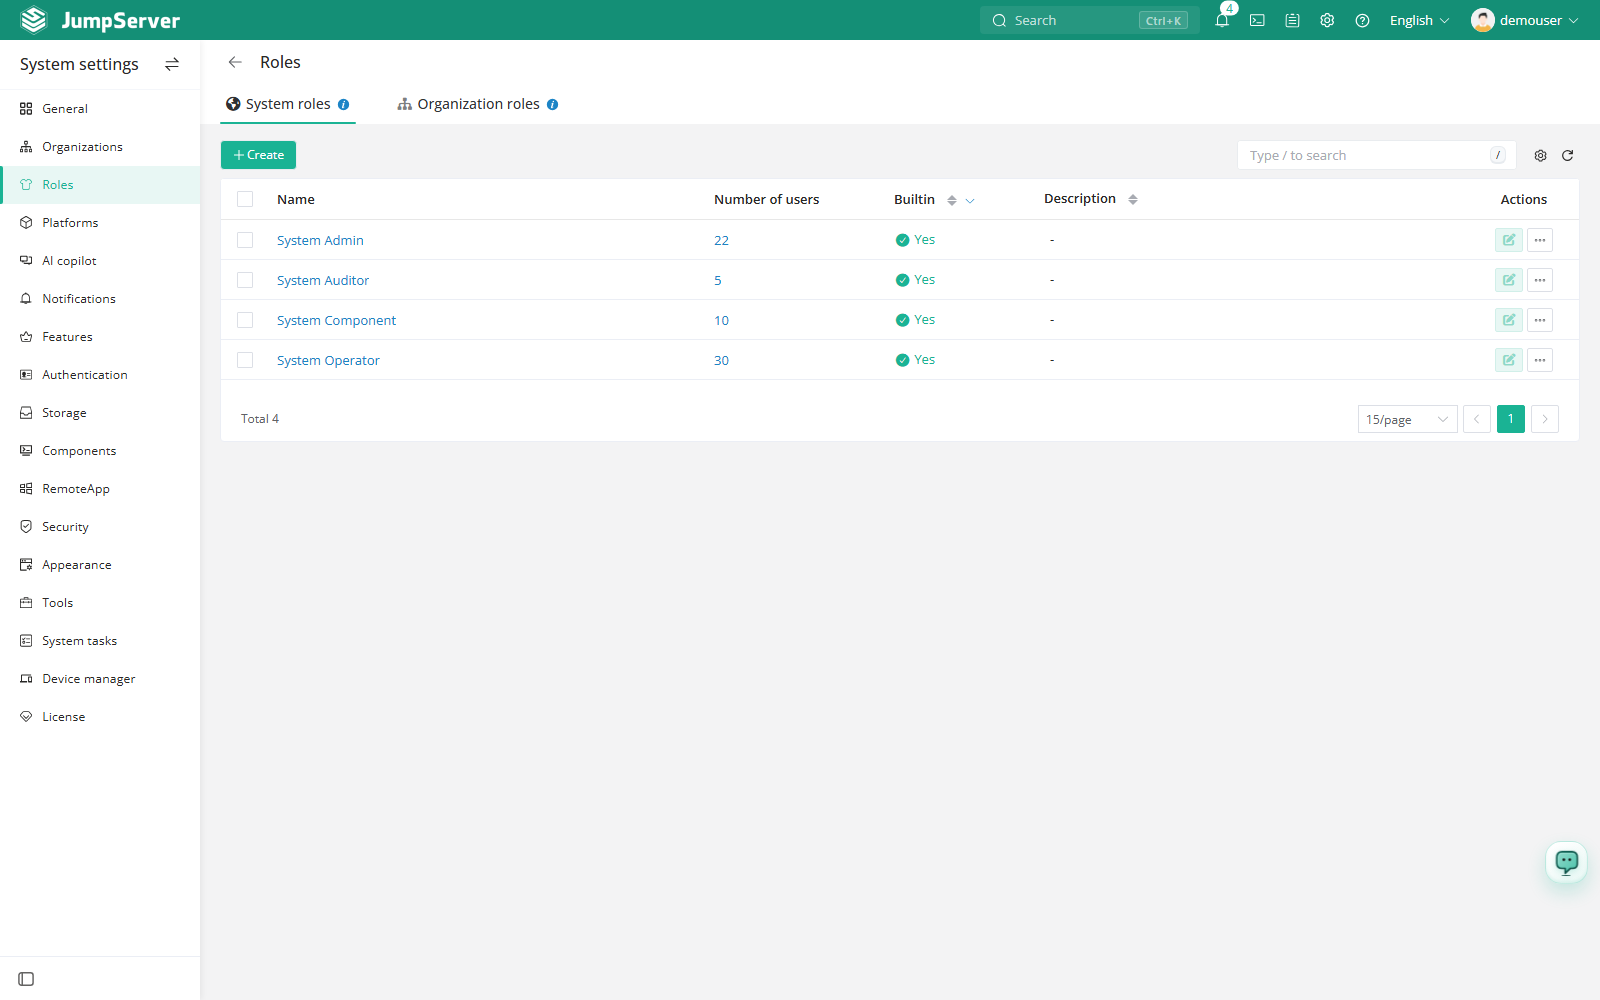
JumpServer ships with default roles that cover the common personas. Default roles cannot be edited or deleted. In Enterprise Edition, to change what a default role grants, duplicate it, adjust the copy, and assign the copy to users instead. Community Edition cannot create or customize roles.
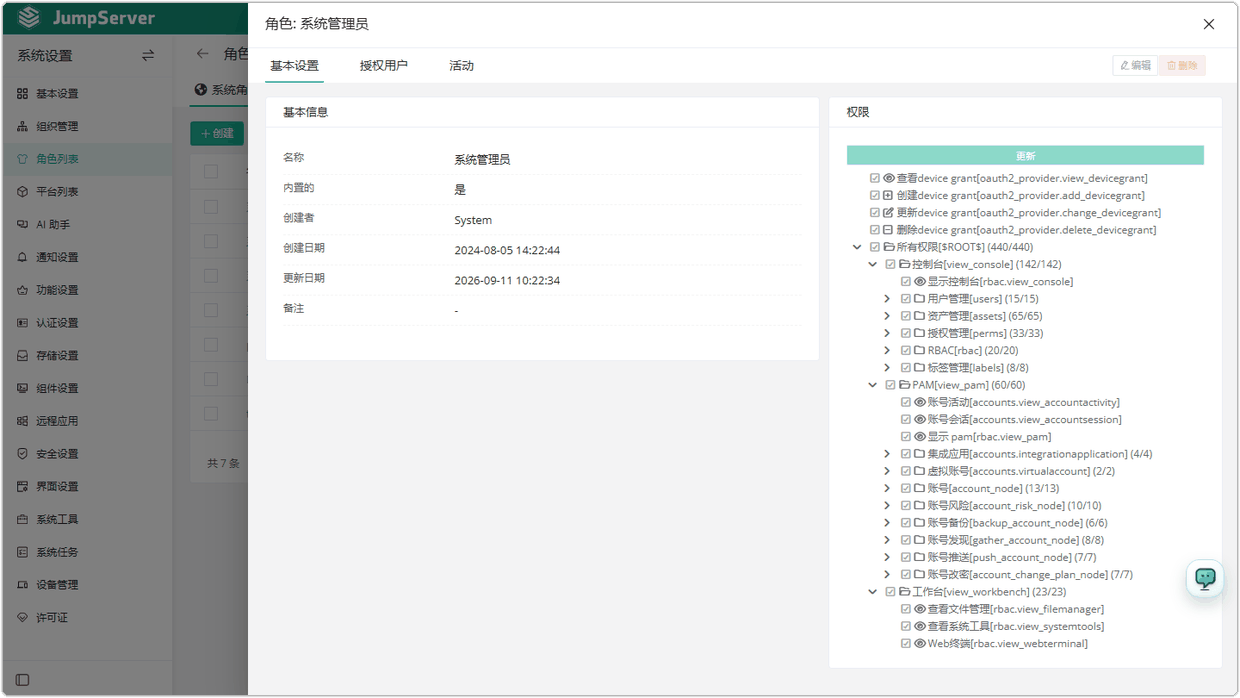
A role is more than a name. It carries a permission set, a list of assigned users, and an activity record, so you can see who holds the role and what changed over time.
Create a role
Creating roles is available in Enterprise Edition only. Community Edition uses the built-in roles and cannot modify their permissions.
In the right area of the top navigation bar, click .

In the left menu, click Roles.
Click Create and choose whether the role is a system role or an organization role.
Type a name and an optional description, then click Submit.
On the role detail page, select the permissions the role should grant in the Permissions section.
Click Update to save the permission set.
Assign users and review activity
In the right area of the top navigation bar, click .
In the left menu, click Roles, then click the role name.
Open the Users tab and add the users who should receive this role.
Open the Activity tab to review changes made to the role and its assignments.
Field reference
Manage existing roles
- View: built-in roles are read-only in every edition. Their permissions cannot be changed.
- Edit: in Enterprise Edition, edit the name or description of a custom role from the role list.
- Duplicate: in Enterprise Edition, use the more actions menu to create a copy, then adjust the copied permissions. Duplicating is the fastest way to build a role that is close to a default role.
- Delete: in Enterprise Edition, delete a non-built-in role. Deleting a role removes its permissions from every assigned user.
- Community Edition: only the built-in roles are available. Creating, editing, duplicating, and deleting roles are unavailable.
Role changes take effect on the next authorization check. A user who is already signed in is not forced out, but the menus and actions they can use are re-evaluated from the new permission set.